This tutorial is great for all Photoshop users from beginners to intermediates.
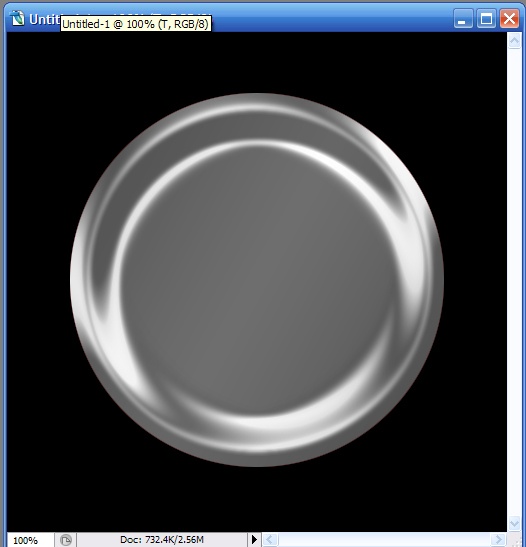
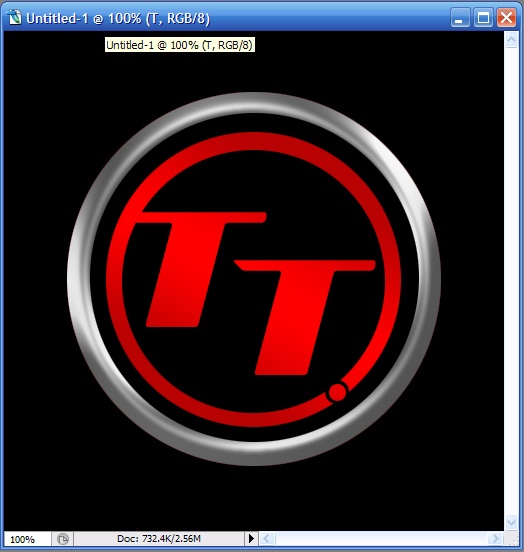
This is what you will get when you are finished:

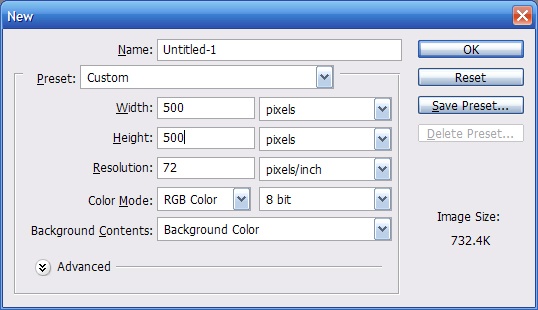
Start off with a new 500×500 pixel document with a background color of black

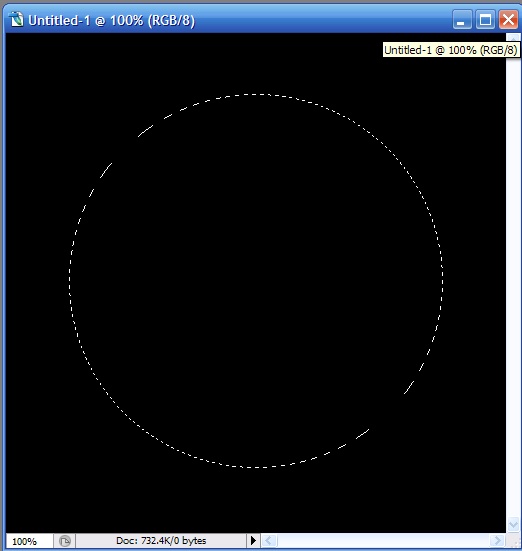
Now select red(#ff0000) as your foreground color. Create a new layer, then using the Elliptical Marquee, tool draw a perfect circle by holding the shift key while drawing.

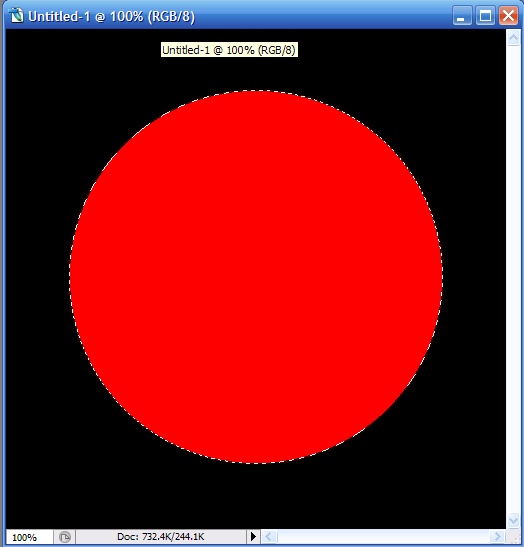
Now press alt+backspace to fill the area with red.

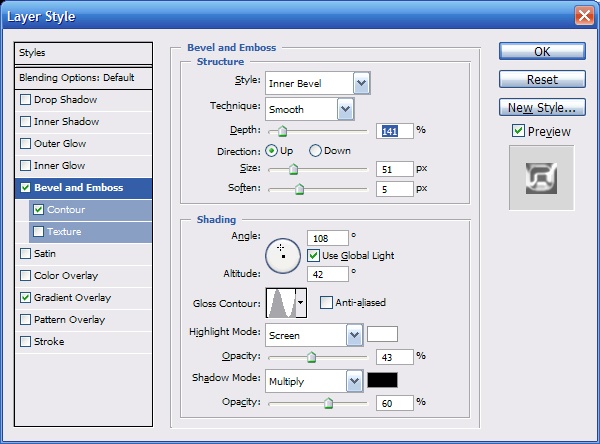
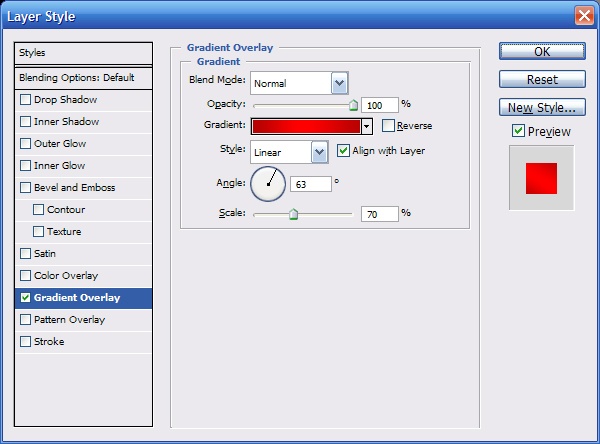
Now apply the following layer style to this layer.
Bevel:

Contour:

Gradient Overlay:


Then apply the style and your image should look like this:

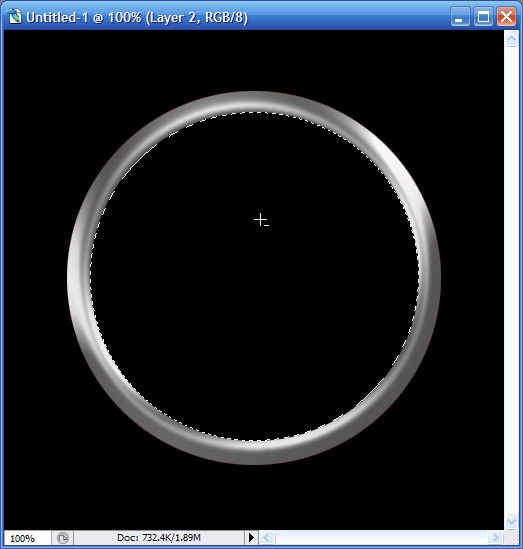
Now create a new layer and draw another perfect circle inside the other circle and fill it with black (#000000)

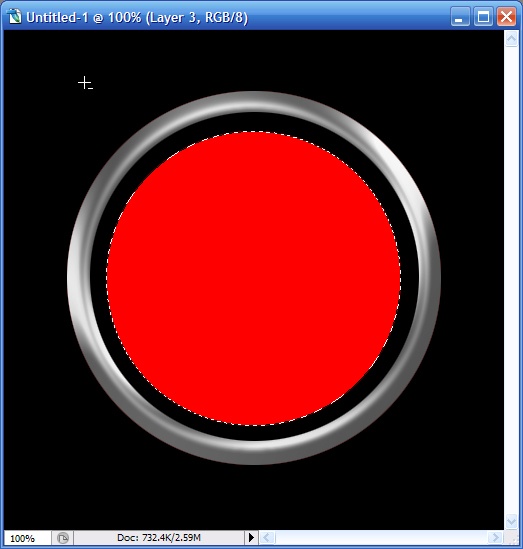
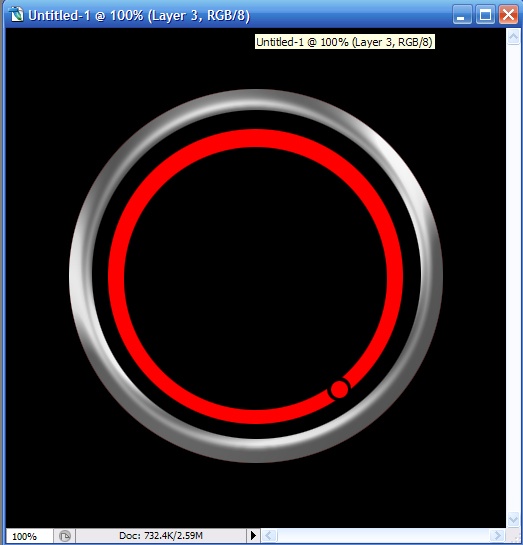
Now we will create another new layer, and draw another smaller circle inside our black circle and fill it with red (#ff0000). Your image should look similar to the one below.

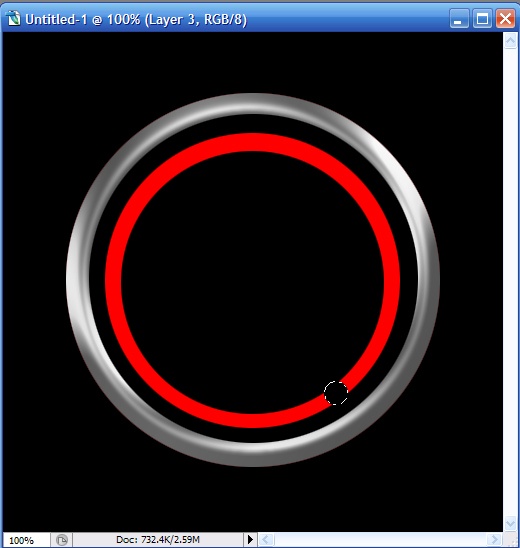
Now using the Elliptical Marquee tool again, create a smaller circle inside the red (do not create a new layer this time) one and press the delete button to remove the inner part of the circle.

Now you can deselect. We need to use the Elliptical Marquee tool again and select the lower right corner area of the circle and delete it.

Now create a smaller circle where we just deleted one, and fill it with red. You will want to use the arrow keys to position the dot before you deselect it.

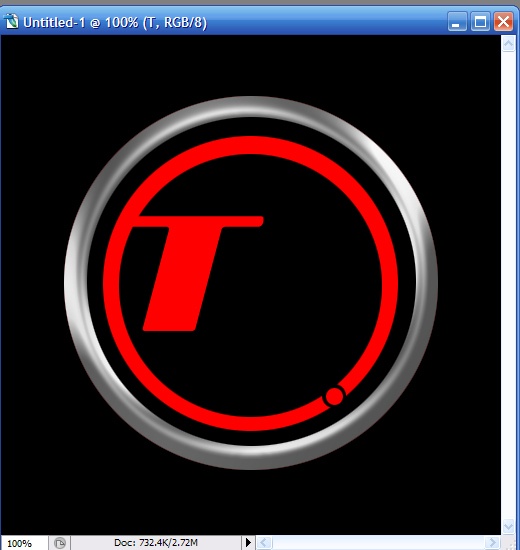
Now we will add our text. Create a new layer and select the Text Tool. Click on the Layer and type the first letter, I will use a T. The font I am using is 235pt Add City Boy, you can download it here. Position your letter so part of it is overlapping with the edge of the circle.

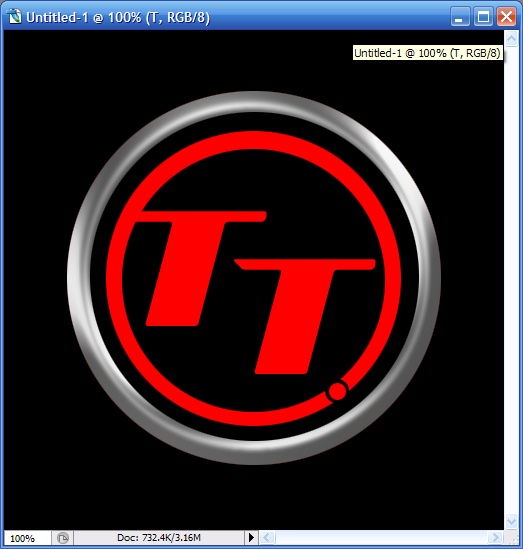
Now create another layer and add the other letter for your text the same way you did before.

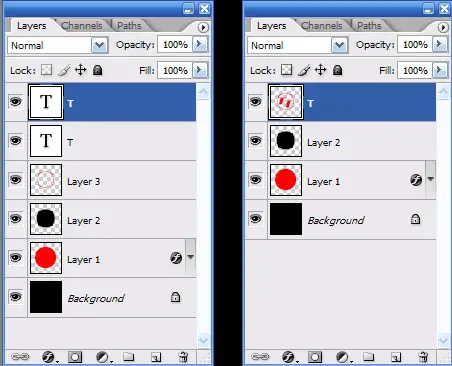
Now we will merge the two text layers with the circle layer. Select all three layers by press ctrl and clicking them, then press ctrl + e to merge the layers. Here is a before and after.

Now select your newly merged layer and apply the following Layer Styles by right clicking the layer and select blending options.


Apply the style and your images should like the one below.

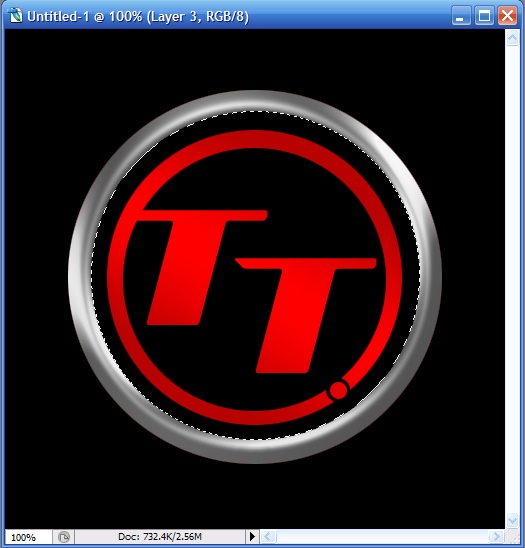
Now create a new layer. CTRL + Click on the layer with the black circle to make a selection like it on the new layer.

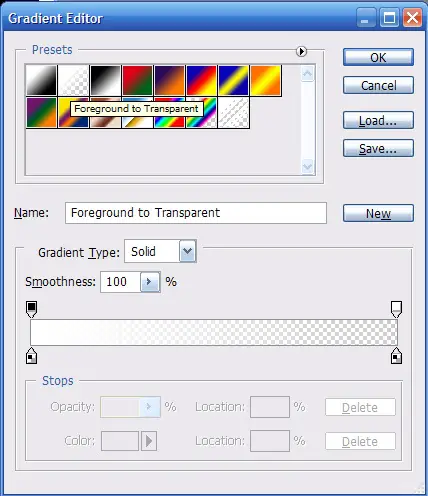
Now reset your colors so that black is the background and white is the foreground. Select the gradient tool, select “Foreground to transparent” as your color.

Fill circle with the gradient by clicking outside the circle and dragging inward (like the arrow in the picture below).

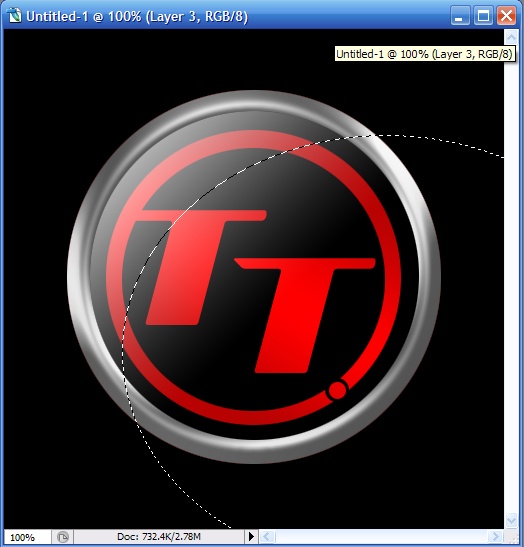
Now deselect the circle and draw a new larger one offset like below.

Now delete the selection and our results should look like this:

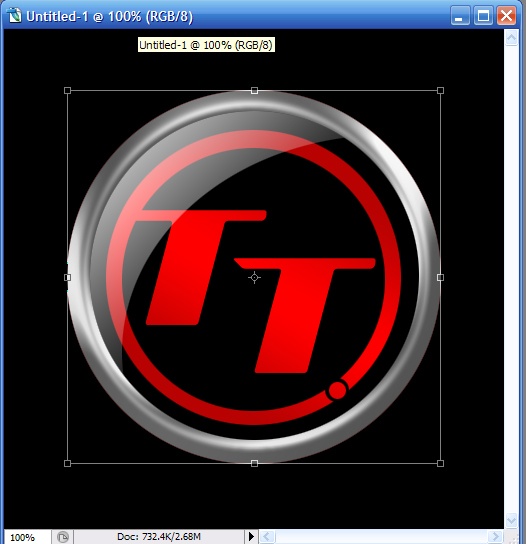
Now you can leave the logo like that if you want, but I decided to add a little bit more to it. First Select all of the layers (except the background) in the layers panel by CTRL + Clicking them. Then on the menu in Photoshop go to Edit > Transform > Perspective .

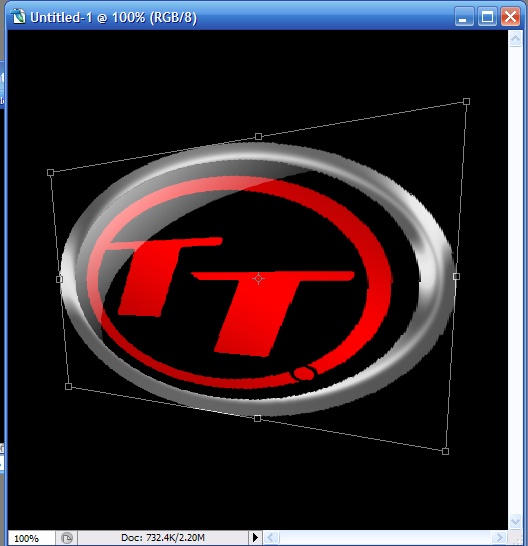
Now move the points so they look like this:

Then apply the style and you are finished! I hope you liked this tutorial, feel free to leave suggestions for my future tutorials.

ReadMore...